Getting a security camera for your house or place can not fulfil your job, these cameras need to be installed accurately in order to get the proper access. If you have purchased SimpliSafe camera and are not familiar with the setup process then this blog can be helpful in the SimpliSafe camera setup execution.
- Unboxing and checking – The first step is unboxing the camera package and check the device including other components. Make sure they are in sound position, spend sometime understanding these products. You will get a power adapter, some helping cables and mounting objects as well.
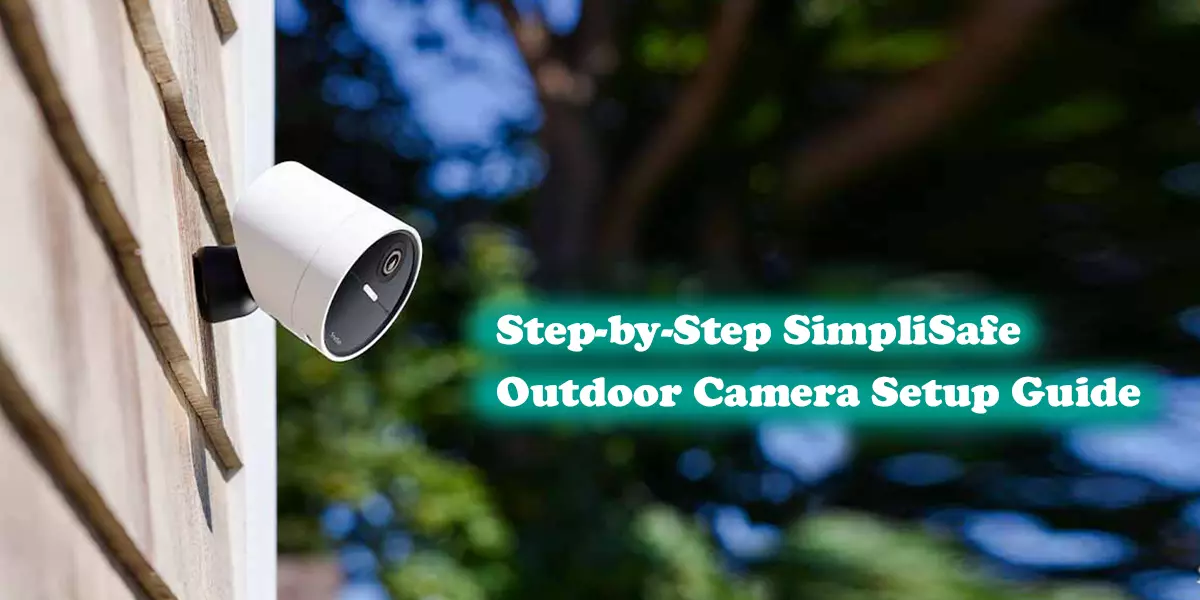
- Camera selection and location – There can be a slight difference between the indoor and SimpliSafe outdoor camera setup, so you must choose the camera according to your surveillance need. After selecting the camera next task is to decide the location for it, for outdoor camera setup it is necessary to choose a place without any hindrance so that view won’t get interrupted.
- Power source – Using the helping cables and power adapter link the camera to power source, for outdoor camera you must use the nearby outlet of electricity, the source must be stable so that you won’t face disconnection issue.
- Device management – You must have the SimpliSafe app in your device so that you can execute the login, make sure to have the account and its login credential. After the successful login open the app and look for add device option, you can use QR scanning method to add the camera or can manually enter its series number to add it. After adding the device initiate the wifi setup, fill in your wifi network name and code to connect. To ease yourself you can assign names to cameras.
- Mounting – After the wifi setup you must hang your camera at the proper place, keep in mind the distance from earth and make the view error free by removing the physical obstructions, use the hardware mounting object to mount it and make sure it is perfectly fixed on the wall.
- Test and adjust the settings – Check the camera view and make the adjustment if needed, now you can also adjust and alter the camera settings like motion detectors, sensors, notification alerts and test them simultaneously.
The setup is complete but you must pay attention to the regular maintenance as well so that camera’s functionality won’t get interrupted.
- Keep the camera lens safe, clean it frequently to prevent it from the dust and dirt.
- You must check the wifi network connection regularly as well so that no connection issue will occur.
- Keep the camera firmware updated so that you won’t face any compatibility or connectivity issues.
- Outdoor cameras must be weatherproofed so that no physical harm can be made because of storm, rain and extreme hot sunrays.
Final Thoughts
Camera setup process is the main task if not executed properly then you can face several issues, if you don’t understand any of the above given step or have some difficulty in the process execution then don’t hesitate and directly contact our service team to find the effective solution.